ITEMS RECIPE
1. To begin with, the System Administrator would need to give access to users to be able to create recipes and work with this module. To do so, they need to go to User Maintenance> User Register and select the users. Under Permissions> Functions, the System Administrator can give Read and Write permission to the user as shown on the screen below:
2. The System Administrator can also select categories which will show the Allergy, Intolerance and Dietary tabs at the time of adding new items that will be used as ingredients. This can be done under Item Recipe>Recipe Category as shown below:
Note : The categories selected will be the only ones that will be available in the shopping cart while picking items for recipes.
3. The System Administrator can also decide which variable would be used for recipe calculations as shown below:
The other variable would remain constant. However, users can still change both Portion Selling Price and Cost Percentage manually
4. Users can create food items under Data Files> Items by clicking on “Add New” to see the below screen:
5. Add the details and click on “Save” to see the below screen:
You can add the codes and the image on this screen. If you have the inventory module, you can choose whether to make this item a stock item by checking the “Stock Item” checkbox.
6. Allergy, Intolerance and Dietary details can be checked under their respective tabs as shown below:
Once all the details are added, click on “Save”.
7. You can add a supplier/s by clicking on the “Add Supplier” button and then add details to the supplier by clicking on the item as shown in below Screen: VII [A]
You can add the purchase units, Vat percentage, etc. and click on “Save” once done.
In the same way, add food items to the items list.
8. Users will see the Recipe Module on the left menu tab. To add a recipe, click on “Add New” on the Recipe Listing page to see the below screen:
The Recipe Number and Recipe Date is auto generated.
9. Add the image by clicking on “Add Image” on the recipe screen.
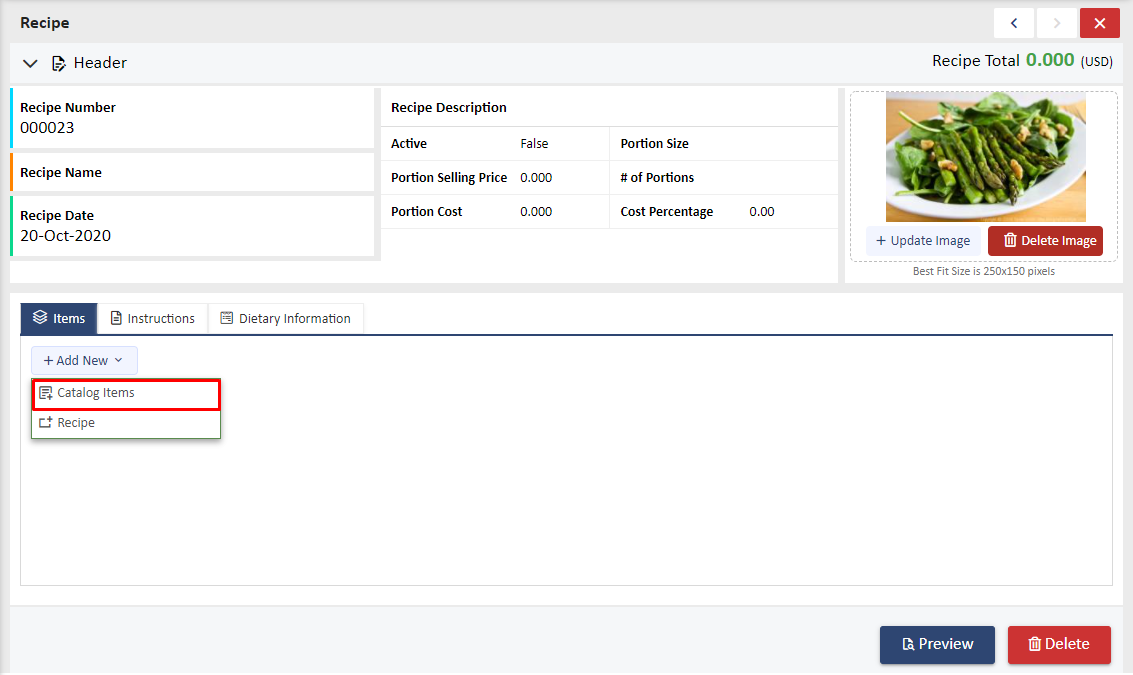
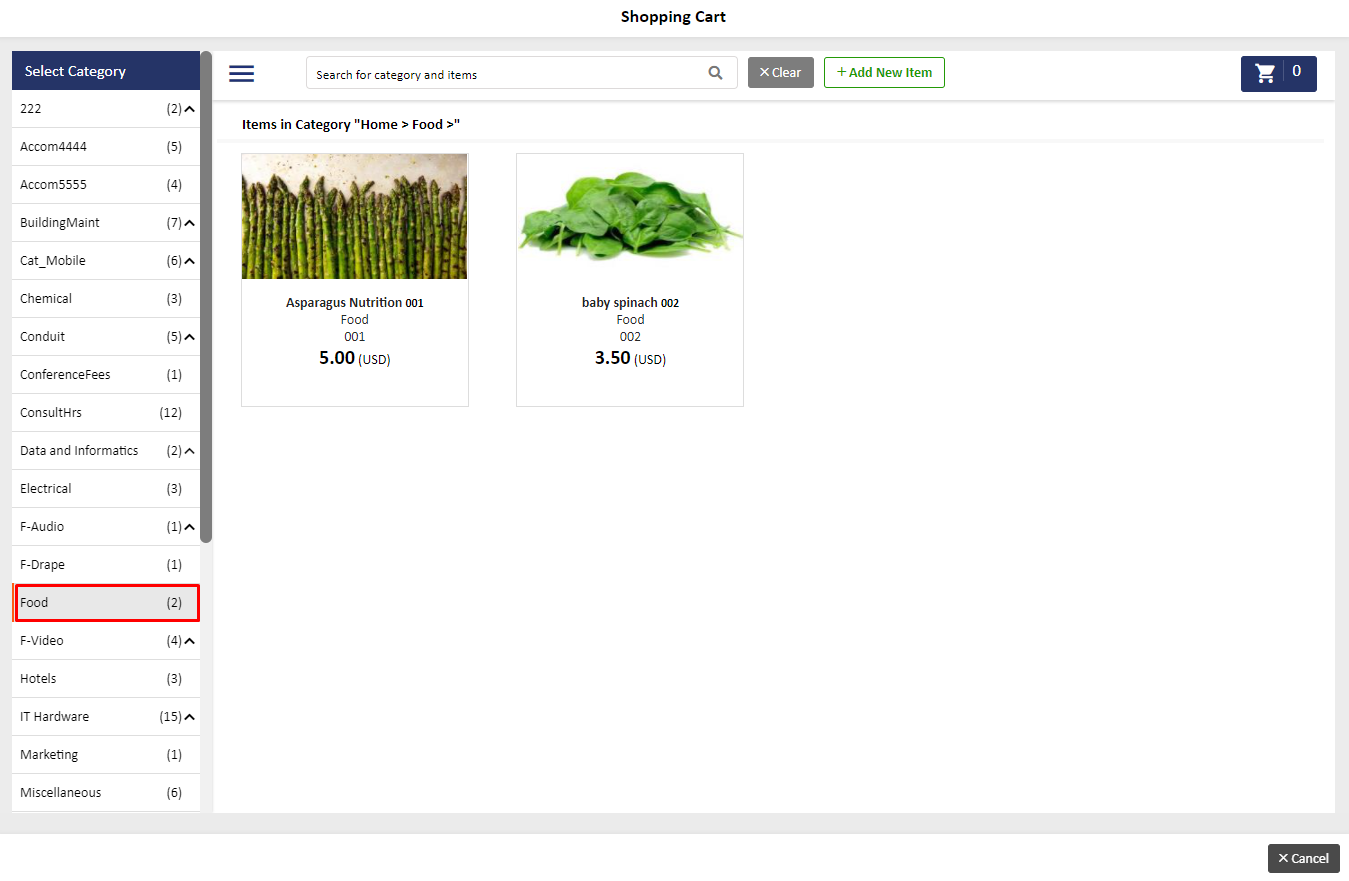
10. You can add the ingredients by clicking on Add Items> Catalog Items to see the shopping cart as shown below:
Note : You can add an existing recipe as well by clicking on “Recipe” in the dropdown as shown above.
Note: Only the categories selected by the System Administrator under Item Recipe> Recipe Category will be available in the shopping cart.
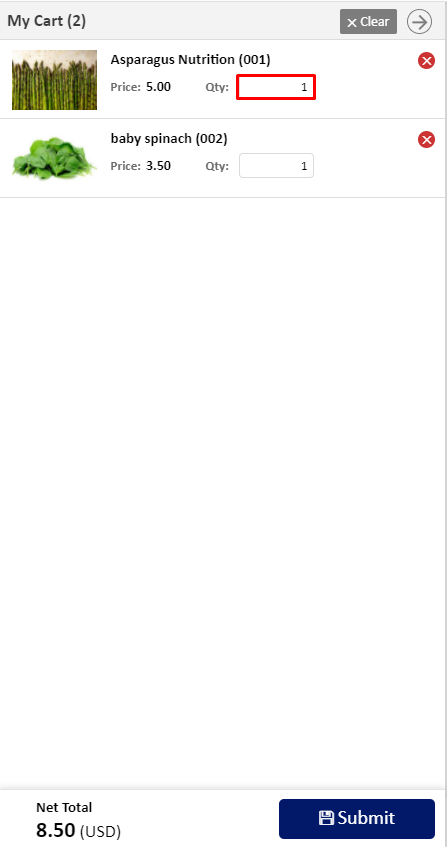
11. Add the ingredients to the cart. You can add the quantities needed for the recipe in the shopping cart as shown below:
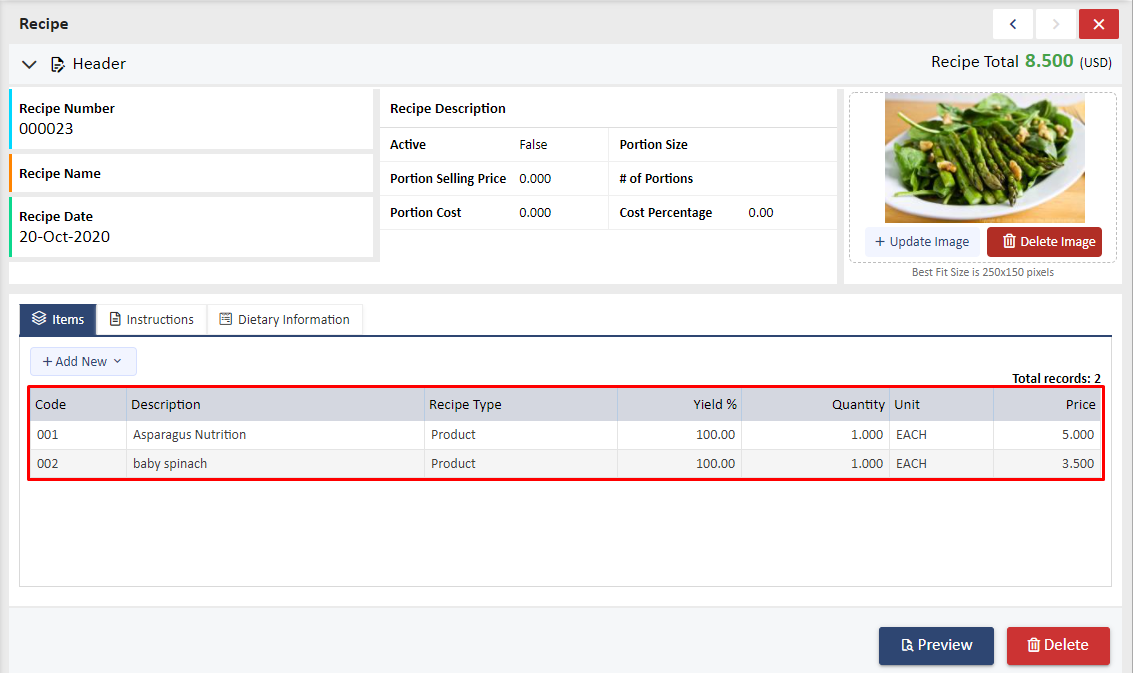
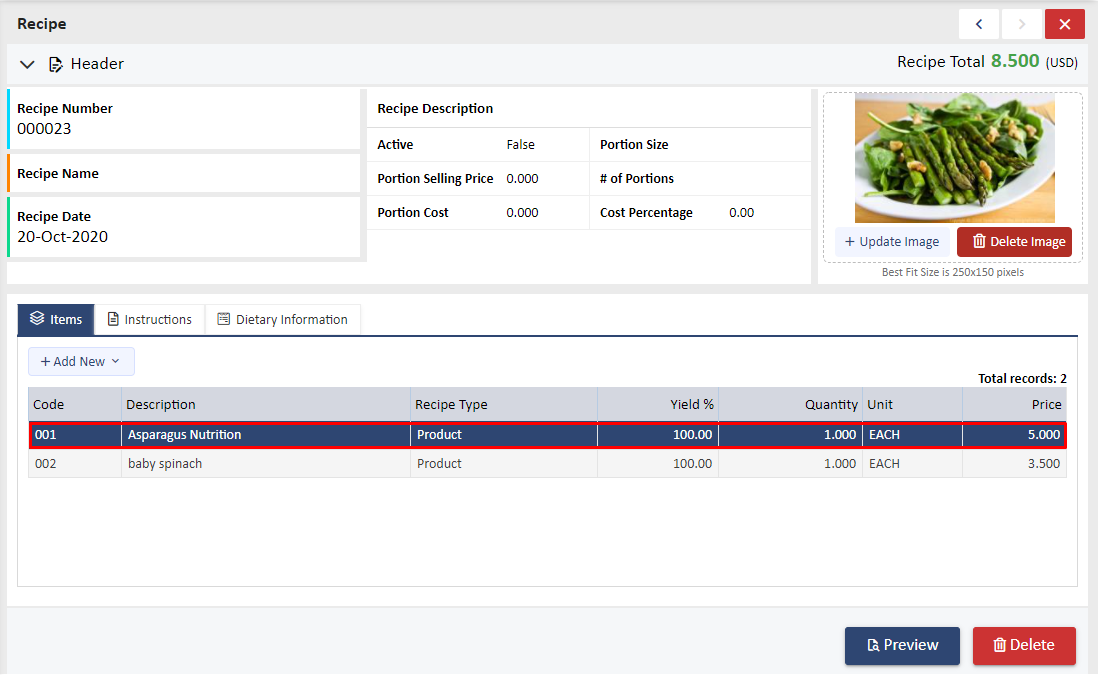
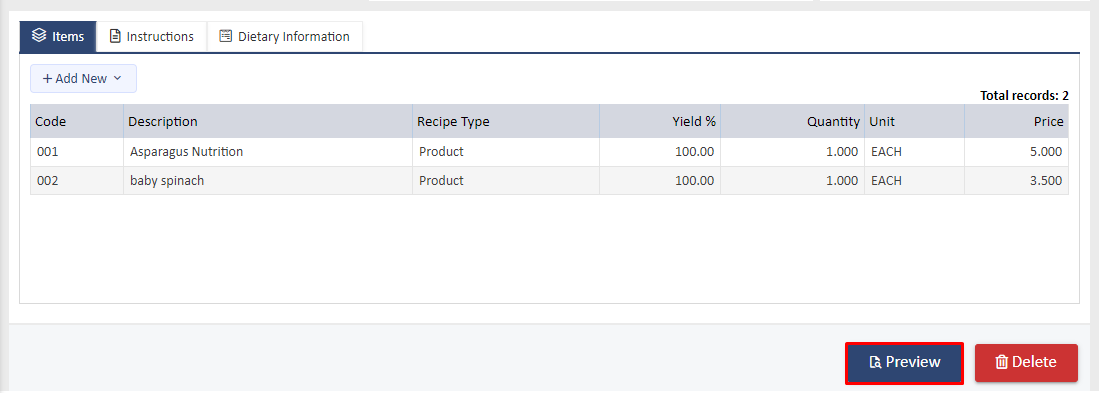
12. Once the ingredients are added to the recipe from the cart, you will see the below screen:
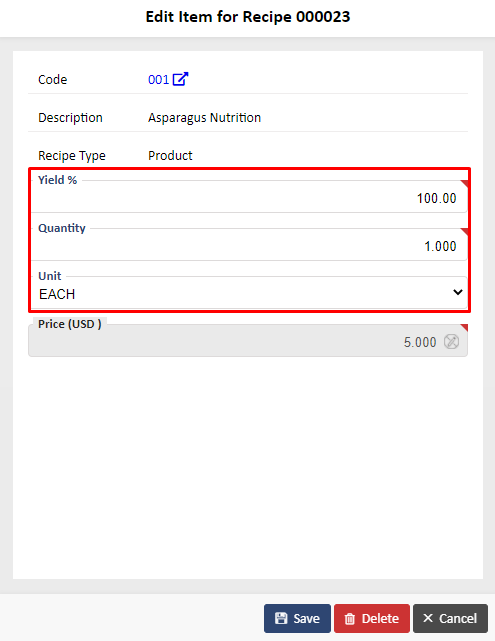
13. You can edit each item by clicking on the Item to see the below screens: XII [B]
You can change the yield, quantity and unit as per the recipe requirements. The price will automatically update accordingly.
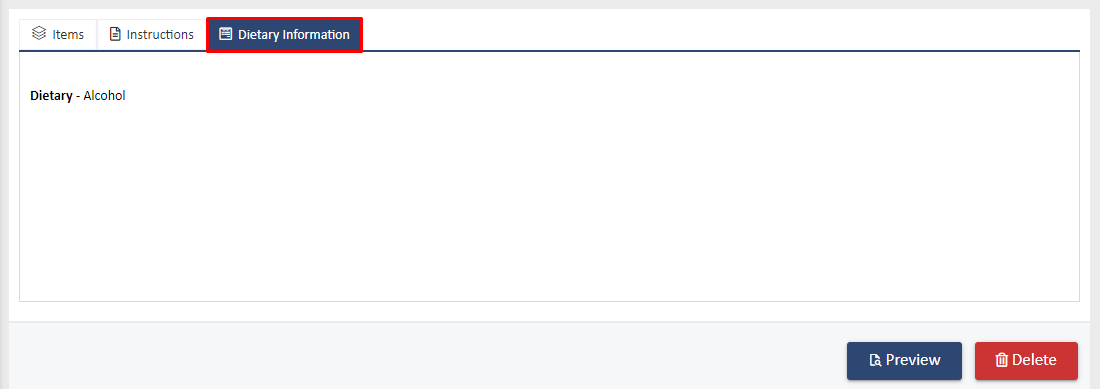
14. You can add the recipe instructions and see the dietary information under their corresponding tabs as shown below: Screen: XIII [A] & XIII [B]
Click on “Save” to see the message “Instructions saved successfully” at the bottom
Allergy, Intolerance and Dietary details will show as per the details entered in the Item Screen for all the ingredients.
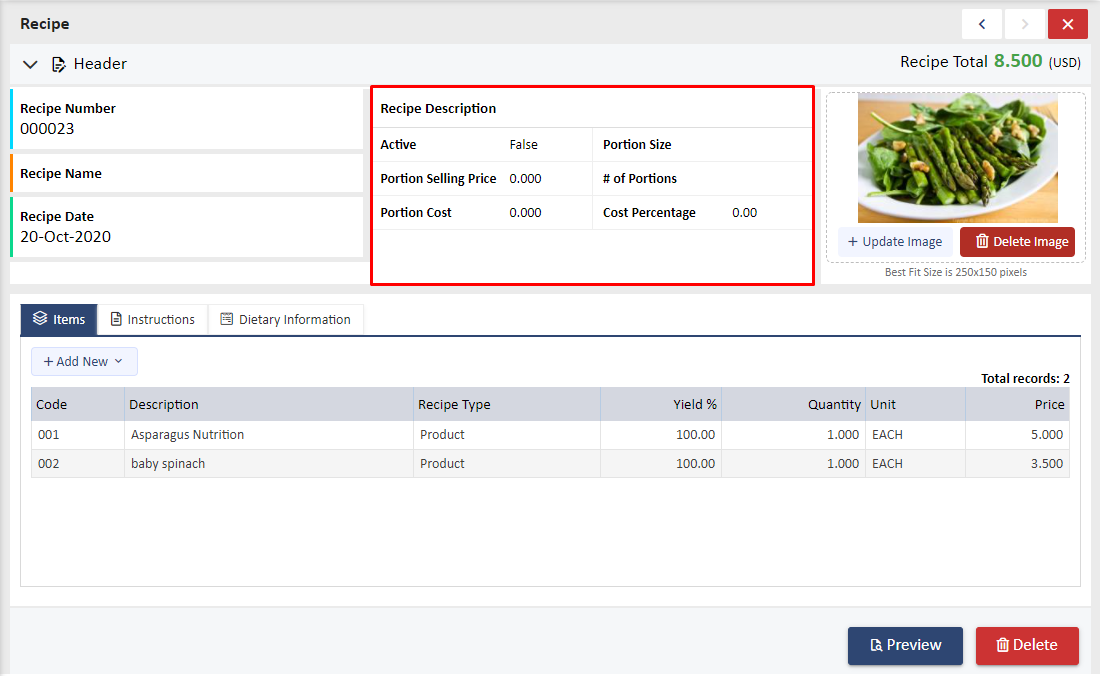
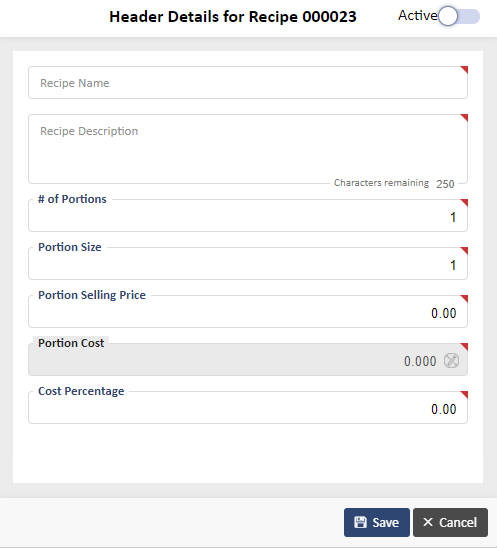
15. Click on the header area as highlighted to add details such as Recipe Name, Recipe Description, No. of portions and Portion Size as shown on the screens below Screen: XIV [B]
Click on “Save” once done.
Note : Check the box for “Active” so that the recipe shows on reports and is available to be added to another recipe if needed.
16. Once all the information is entered, you can add the Portion Selling Price in the header as shown below:
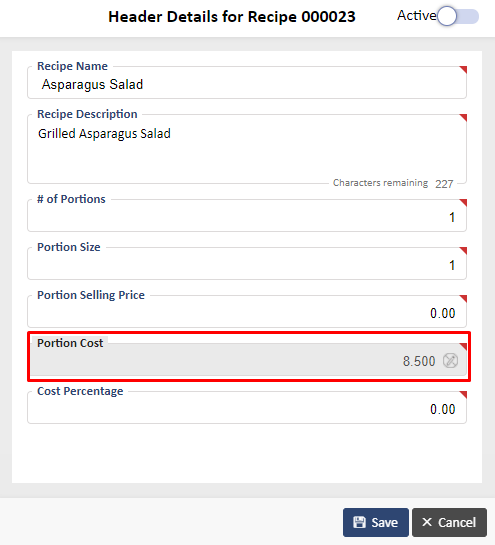
The Portion cost gets calculated automatically when you start adding ingredients. The Cost Percentage will also calculate automatically once the Portion Selling Price is entered.
Note : Since the System Administrator has chosen Portion Price as a variable for calculations, the cost percentage calculates based on it. However, on the above screen, you can enter the cost percentage manually as well.
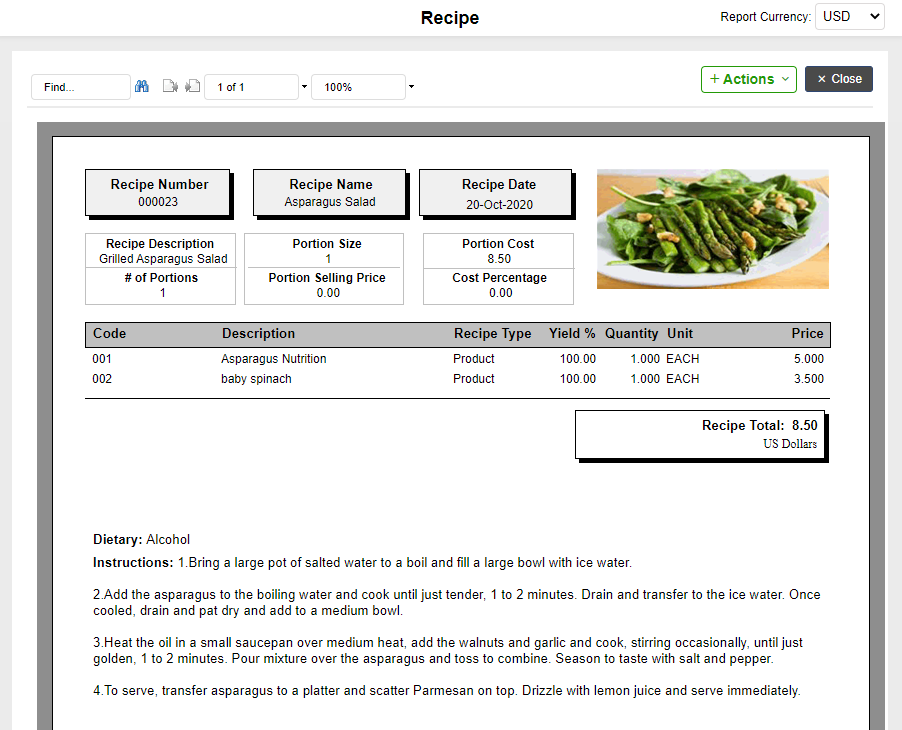
17. You can click on the “Preview” button to see all the details of the recipe as shown below:
This can be exported to a PDF, Excel, Word, HTML or RTF and can be printed or emailed.
18. To delete a recipe, click on the “Delete” button on that particular recipe.
19. To Search a Recipe, enter the details on the search field and choose the relevant search criteria from the dropdown on the Items Recipe Listing page as shown below and click on “Search” button.
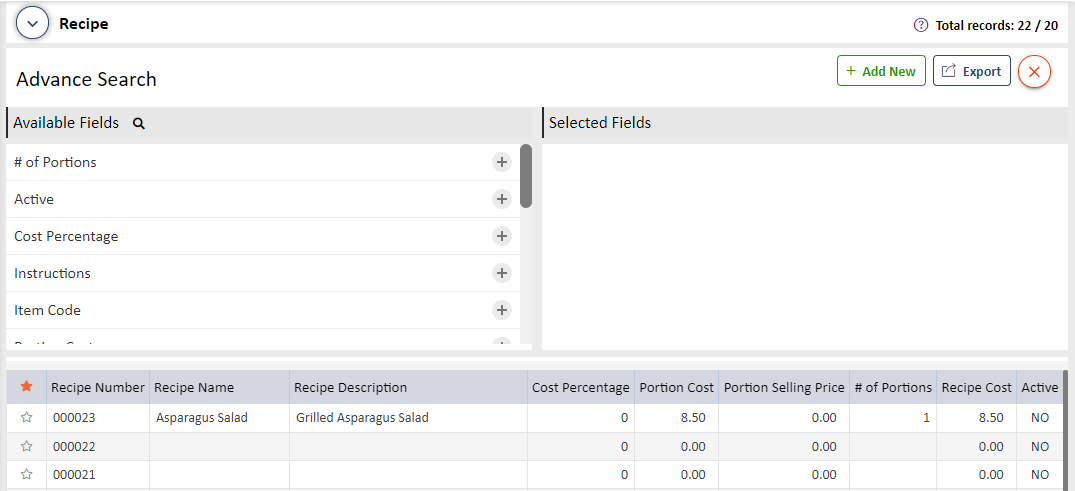
20. To do an Advanced Search, click on the advance search icon as shown on the below screen:
This will give you options to search as per the fields that you choose as shown on the below screen:
You can select various fields using the icons in the middle and search as shown below:
Once done, you can also save your search for future reference by clicking on the “Save Search” button as highlighted in the above screen.
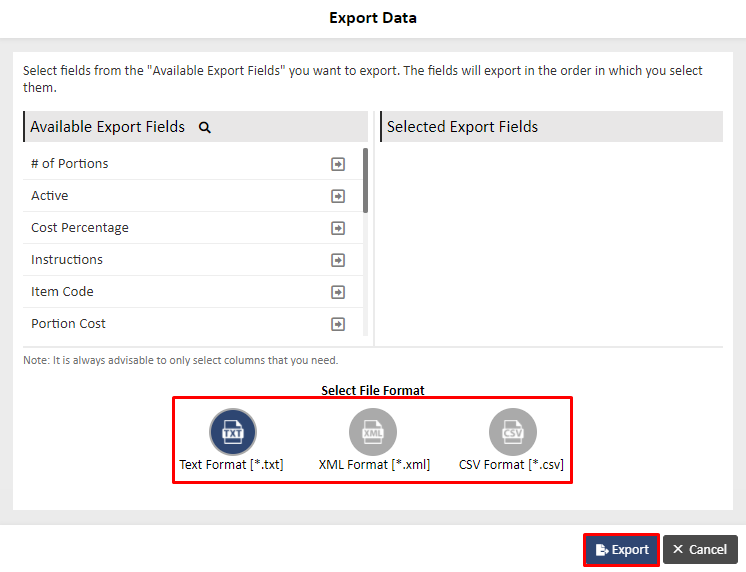
21. You can also Export Data in Text, XML and CSV formats. To do so, click on the “Export Data” button on the Items Recipe Listing Page to see the below screens:
Reports :
A report is an effective way to present the required data from the database based on certain criteria.
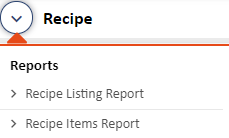
There are 2 reports under Quick Links I Reports as shown below:
a. Recipe Listing Report – This report lists all the recipes as per the headers on the Recipe Listing page as shown below:
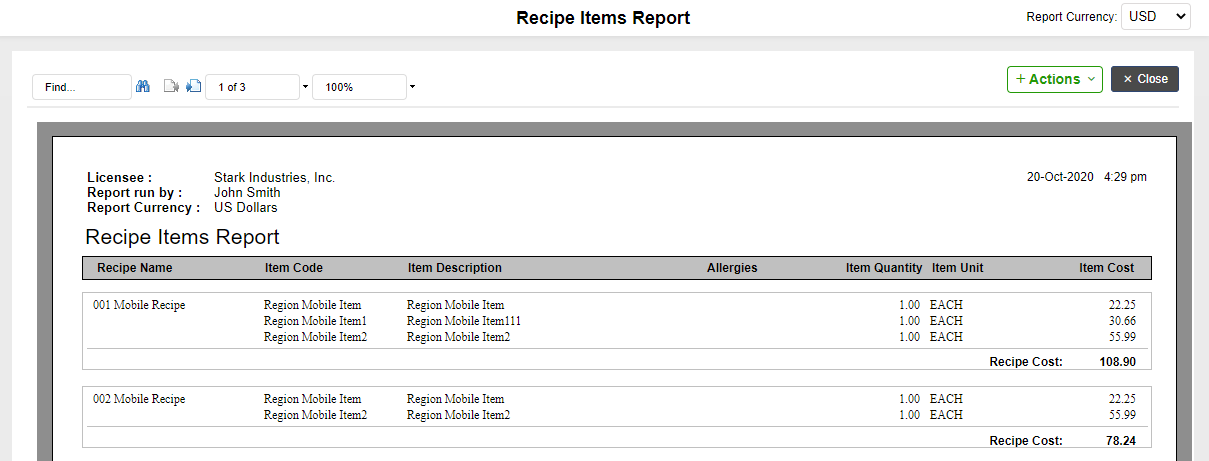
b. Recipe Items Report – This report shows all the recipes along with their ingredient details as shown on the screen below:
Both the reports can be exported to Pdf, Excel, Word, HTML and RTF and can be printed and emailed.
Note : Recipes that are inactive will not show on the reports


